Long time no part 2. Eep!
Well, if you haven’t read Part One, please check out here:
Gauge is Important Part 1
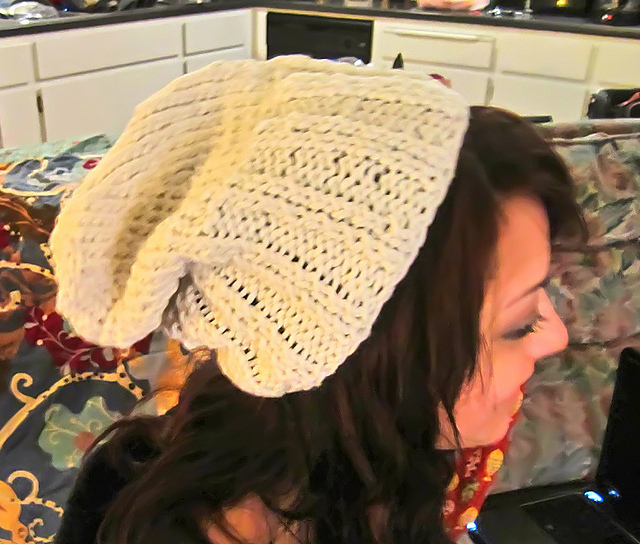
Not onto how else knowing your gauge will help. I have a very small head compared to others, this can create a pattern. Along with that, I knit loose. This can cause a problem in knitting up a clothing item. Today we will be using my “Double up the rib, extra slouch on top please” beanie
Say you wanna make this for someone who’s head is about 16″, which is a pretty small head. I think that’s a toddler maybe…anywho. So you need to take off 4″. Well the gauge is as follows:
Needle: US8 / 5.0mm
Yarn: Bulky 12ply – Spud & Chloe Outer in Soapstone
Gauge: 12st x 18rw = 4″ st st
So that’s 3 stitches per inch, and takes 60 stitches to make the 20″ headband of the beanie. For the 16″ headband, here is the math: 3st (per inch) X 16″ = 48 stitches to begin. That is is if you have the same gauge. Say if your gauge was 4″ per inch? Then your formula would be 4st X 16″ = 64 stitches.
So the formula is: Stitches for inch X inches to knit = how many stitches you need. Does this makes sense? Now remember that doing this, does come with some issues. For this beanie it is a double rib, which has a 4 stitch repeat. So you have to make sure your stitches can do that. So for example, say your math ended up being 66 stitches, you have to make a decision. You have 2 options, up or down. Either you go up 2 stitches or down 2 stitches. Usually either won’t make that big of a difference, so it’s up to your preference.
If you have an 8 stitch pattern, you may have more issues. I look into the detail of the pattern. Are there free stitches between each repeat? Can I eliminate any of these? Can I add some stitches between?
When taking or adding stitches to patterns, don’t forget about the rows. This is important for the length of the project. If you are making a sweater or hat, make sure that your math still fits for those rows.
For the beanie pattern I have 4.5 rows per inch. Now say you have 4 rows per inch, this can make a difference. Now for the beanie it is only about 1/2″ difference. But say a larger sweater that was about 40″ long, that would make a difference of about 4 inches…that could suck.
So the math you ask?
Rows per inch X inches needed = total rows
So if you are 4″ off, find out how many rows you need to make that up, What I would do then is split it up.
Let’s try the beanie pattern again, we’re focusing on the crown/top half:
I know it is 21 rows, so now a x b = c is c/a=b It’s algebra, so bare with me if it’s confusing you:
mine: 21 final rows/4.5rw = 4.5″
yours: 21 final rows / 4rw = 5.25
it’s a 3/4″ difference. How to make it less? You need to take out 3 rows. (This once was easy since you’re is 4rows per inch, so each stitch is 1/4″. ) So you find “filler rows” to remove. This is pretty easy for me, just take out maybe 1 row from the rib, and 2 rows at the beginning of the crown. Say it’s a pattern with tons of decrease/increase? Just remember to split up the garment into sections of where you have to take out (or add possibly) a row.
Okay, I know that is confusing! Please take some time to check out Stitch & Bitch Nation by Debbie Stroller for some more help. There’s a great section on there all about gauge! How do you think I learned so much? Feel free to ask any questions, or ask for further explanation!
Happy Knitting!
Bre 😀
Tags: beanie, craft, free pattern, gauge, knit, knitting, learn, lesson, math, pattern, tutorial, yarn